- 1 September 2016
Before & After
Instructions: -Remove tape, -Clean rip, lines, spots,etc. -Add missing parts -Make it black and white
Read morePosted by Jeff Shirley
- 1 September 2016
Before & After
Instructions: -Clean scratches, lines, etc. -Remove paper texture -Keep same colors
Read morePosted by Jeff Shirley
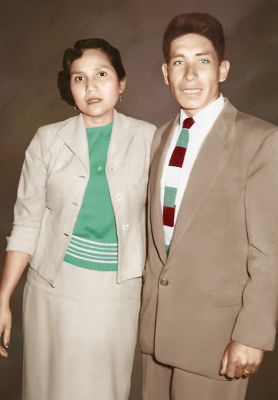
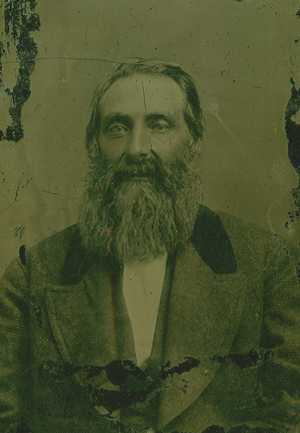
- 1 September 2016
Before & After
Instructions: -Clean scratches, water spots, lines, etc. -Remove green color -Make it sepia
Read morePosted by Jeff Shirley
- 30 August 2016
Before & After
Instructions: -Clean scratches and spots -Remove shadows on wall -Add missing furniture -Adjust brightness and contrast -Keep black and white colors
Read morePosted by Restore.TV
- 30 August 2016
Before & After
Instructions: -Clean scratches, spots, rips,etc – Add missing eye -Adjust brightness and contrast -Colorize photo
Read morePosted by Restore.TV
- 30 August 2016
Mama Olive
Instructions: -Clean scratches and spots -Adjust brightnes and contrast -Colorize photo
Read morePosted by Restore.TV
- 18 August 2016
Before & After
Instructions: -Clean scratches and spots of tin type -Add missing parts -Make it black and white
Read morePosted by Jeff Shirley
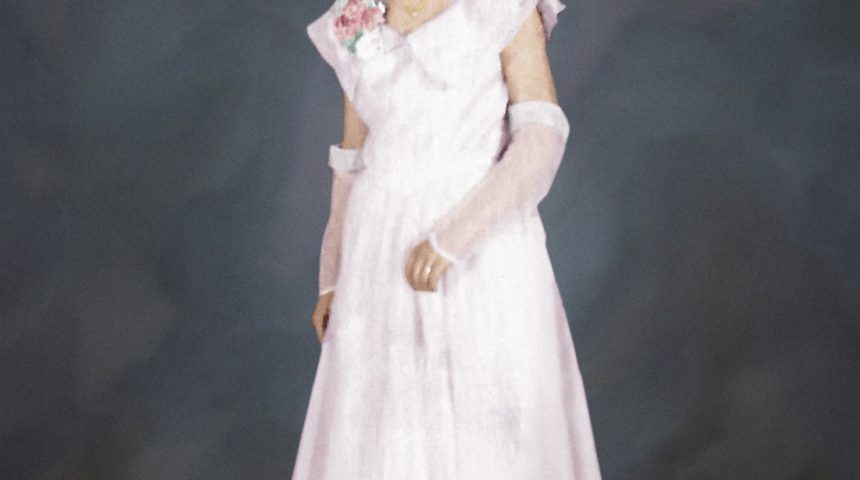
- 17 August 2016
Before & After
Instructions: -Delete people and background -Add new background -Add missing corner of the dress -Colorize
Read morePosted by Jeff Shirley
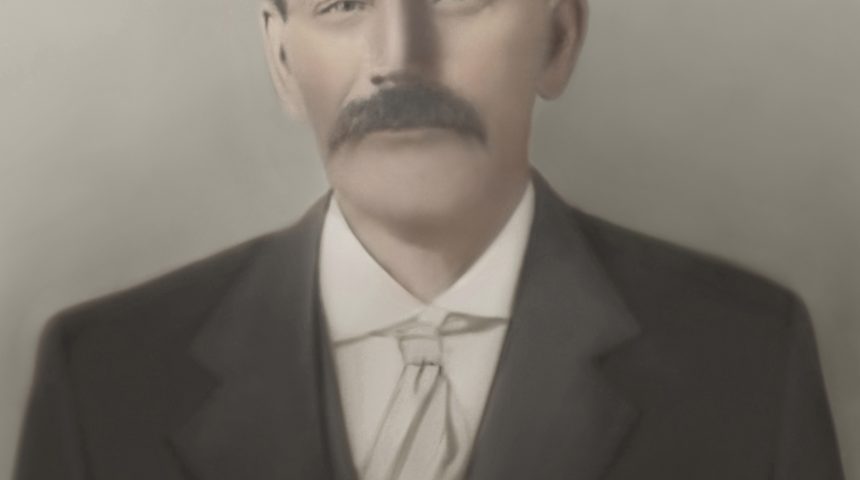
- 12 August 2016
Before & After
Instructions: -Clean scratches, spots, lines,etc -Remove faded look – Adjust brightness and contrast -Colorize photo
Read morePosted by Jeff Shirley
- 1
- 2
Recent Blog Posts


FAMILY TRADITIONS 🎄🎁@ RESTORE.TV
27 December